> ## Documentation Index
> Fetch the complete documentation index at: https://docs.arya.so/llms.txt
> Use this file to discover all available pages before exploring further.
# Lesson 1 — Create your workspace
> Activate the workspace, set company data and invite your team.
**Lesson 1 of 10** · \~4 minutes · Prerequisites: none
## What you'll learn
* How to create your company workspace
* Which company data to set up immediately
* How to invite colleagues and assign roles
## Create the workspace
Go to [arya.so/signup](https://arya.so/signup) and enter name, business email and password. You'll receive a verification email — click the link to activate the account.
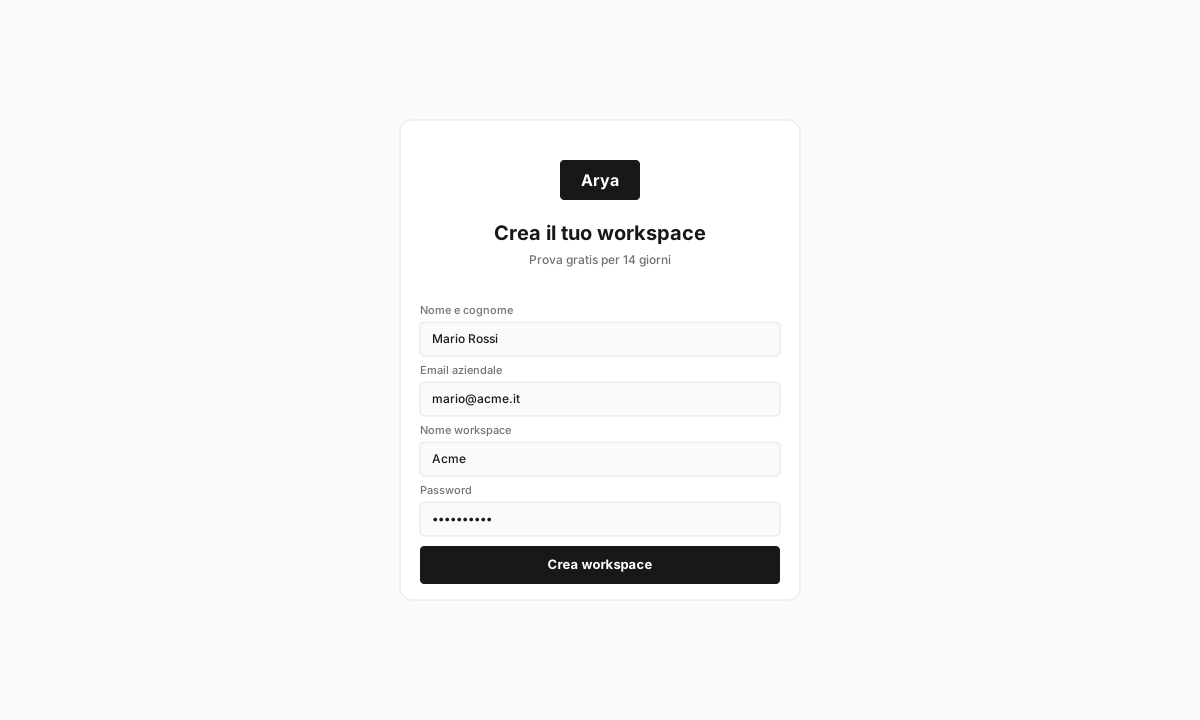 Arya asks for the workspace name. Use your legal name or brand — it will be visible to the team and on public documents like quotes.
Enter legal name, VAT number (*partita IVA*), tax code (*codice fiscale*), registered address. For Italian operations, add the *codice SDI* or PEC email used for e-invoicing.
These values feed invoices and quotes automatically — get them right once.
Default currency (EUR) and interface language. Both can be changed later from **Settings → Workspace**.
## Invite the team
Click the profile icon top-right → **Settings** → **Team and roles**.
Arya asks for the workspace name. Use your legal name or brand — it will be visible to the team and on public documents like quotes.
Enter legal name, VAT number (*partita IVA*), tax code (*codice fiscale*), registered address. For Italian operations, add the *codice SDI* or PEC email used for e-invoicing.
These values feed invoices and quotes automatically — get them right once.
Default currency (EUR) and interface language. Both can be changed later from **Settings → Workspace**.
## Invite the team
Click the profile icon top-right → **Settings** → **Team and roles**.
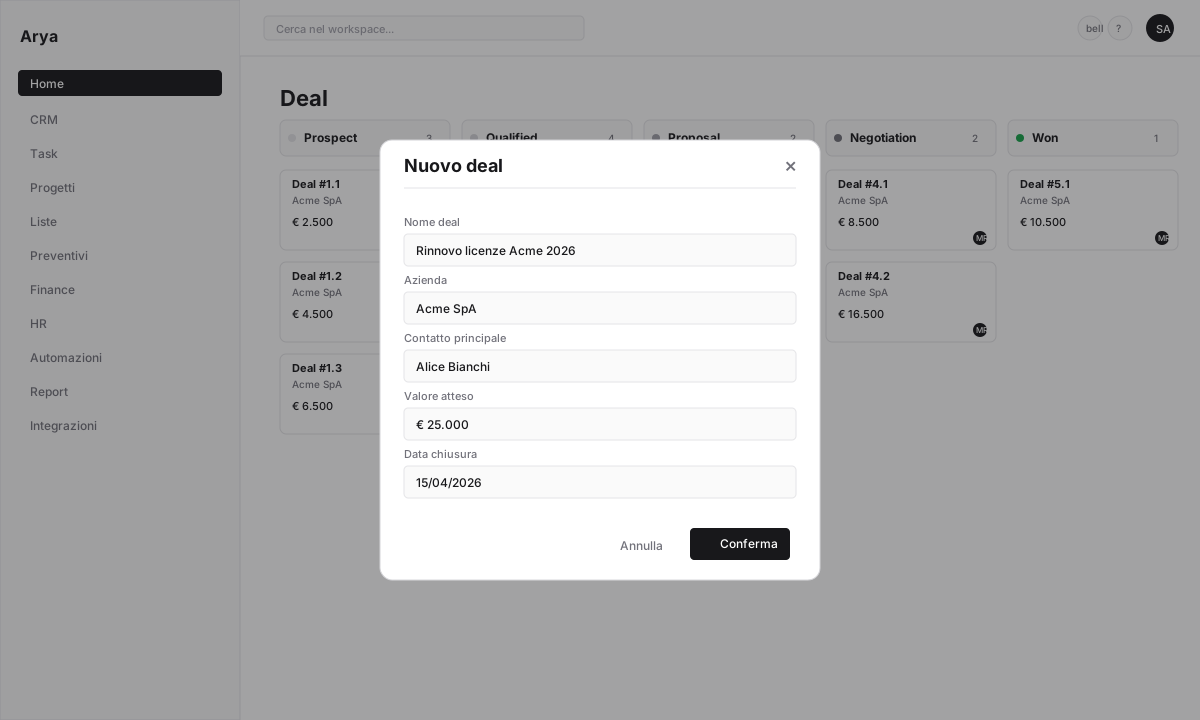 Click **+ Invite member**, enter one or more emails separated by commas. Arya sends an invitation email — the recipient accepts and sets a password.
For each invitee pick a role:
| Role | When to use |
| --------- | ------------------------------------------- |
| Admin | Co-founders, IT, workspace owners |
| Manager | Team leads (sales, HR) |
| User | Operational team members |
| Read-only | External consultants, accountants, auditors |
Roles can be changed at any time.
## Verify
You created a workspace with company data filled in
You invited at least one colleague (or yourself with another email to test)
You know where to find workspace settings
## Next lesson
Learn how Arya models your data: deals, companies, contacts, projects.
Click **+ Invite member**, enter one or more emails separated by commas. Arya sends an invitation email — the recipient accepts and sets a password.
For each invitee pick a role:
| Role | When to use |
| --------- | ------------------------------------------- |
| Admin | Co-founders, IT, workspace owners |
| Manager | Team leads (sales, HR) |
| User | Operational team members |
| Read-only | External consultants, accountants, auditors |
Roles can be changed at any time.
## Verify
You created a workspace with company data filled in
You invited at least one colleague (or yourself with another email to test)
You know where to find workspace settings
## Next lesson
Learn how Arya models your data: deals, companies, contacts, projects.